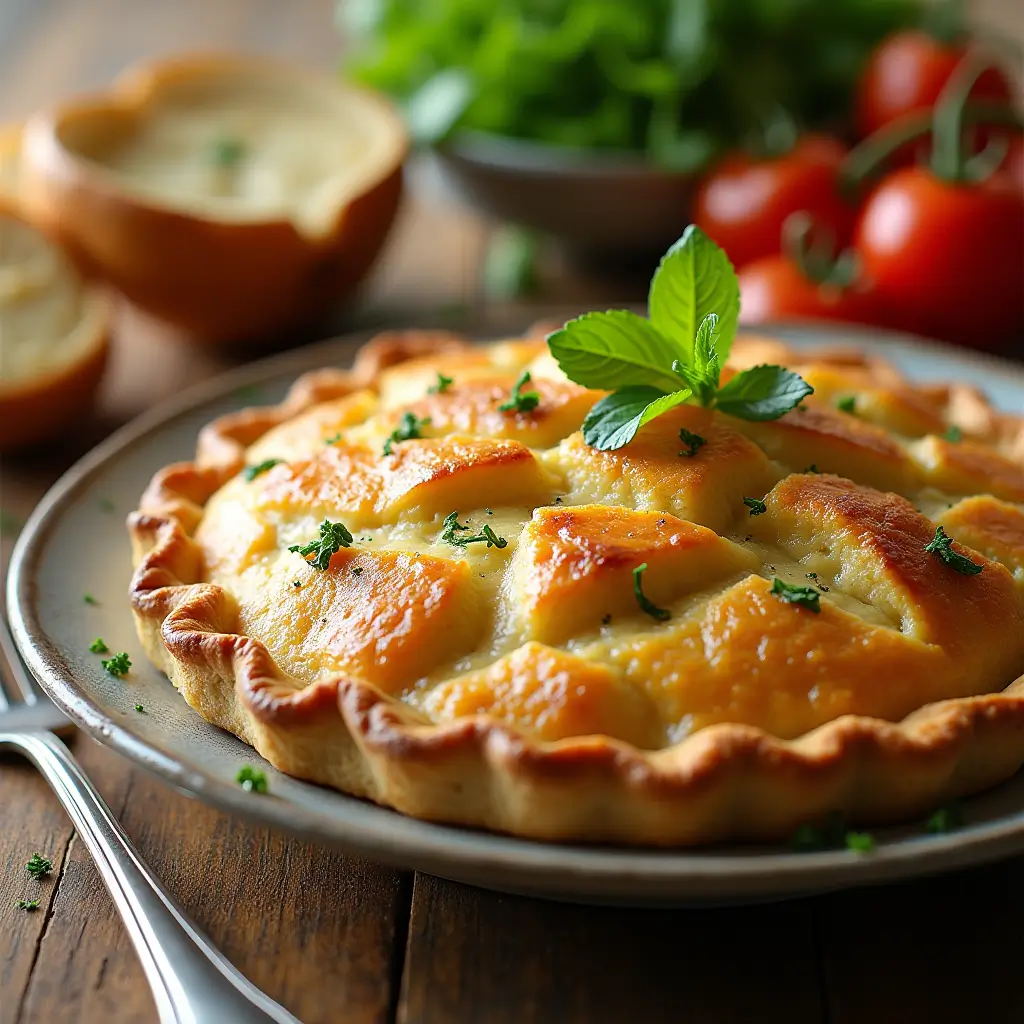
Pie crust recipe using crisco
Table of Contents
There’s nothing quite like the satisfaction of creating a perfectly flaky, tender pie crust from scratch. If you’ve been searching for a foolproof pie crust recipe using crisco that delivers bakery-quality results every single time, you’ve come to the right place. This time-tested recipe has been perfected over years of baking, passed down through generations, and refined to give you the most reliable, delicious crust possible.
Why choose Crisco for your pie crust? Unlike butter, which can be temperamental and requires precise temperature control, Crisco shortening provides consistent flakiness and an incredibly tender texture that’s forgiving for both novice and experienced bakers. The neutral flavor allows your pie fillings to shine, while the reliable performance means you’ll never have to worry about a tough or soggy crust again. This easy crisco pie crust recipe is about to become your go-to for every pie occasion.
Why You’ll Love This Pie Crust Recipe Using Crisco
This crisco pie crust stands out from the crowd for several compelling reasons:
- Unbeatable Flakiness: The unique properties of Crisco create distinct layers that result in an incredibly flaky texture that melts in your mouth
- Incredibly Tender: Unlike crusts that can turn tough or chewy, this recipe produces a delicate, tender crust every time
- Surprisingly Easy & Forgiving: Even if you’re new to pie-making, this recipe is designed to work with your schedule and skill level
- Classic, Nostalgic Flavor: There’s something beautifully traditional about this approach that connects you to generations of home bakers
- Versatile for Sweet & Savory Pies: Whether you’re making apple pie or chicken pot pie, this crust adapts perfectly to any filling
Ingredients You’ll Need
The beauty of this grandma’s crisco pie crust recipe lies in its simplicity – just a handful of pantry staples create magic together.
Essential Ingredients:
- 2½ cups all-purpose flour (measured correctly by spooning and leveling)
- 1 cup Crisco all-vegetable shortening (cold and chilled)
- 1 teaspoon salt
- 6-8 tablespoons ice water (emphasis on ICE cold)
- 1-2 tablespoons sugar (optional, for sweet pies)
Pro tip: The key to measuring flour correctly is to spoon it into your measuring cup and level it off with a knife. Never pack or scoop directly from the bag, as this can add up to 30% more flour than needed.
Equipment Needed
Having the right tools makes all the difference in achieving professional results:
Essential Equipment:
- Large mixing bowl
- Pastry blender (or two forks/food processor as alternatives)
- Measuring cups and spoons
- Rolling pin
- 9-inch pie dish
- Plastic wrap
- Bench scraper (optional but helpful)
- Pie weights (if blind baking)
How to Make the Perfect Pie Crust Recipe Using Crisco (Step-by-Step Instructions)
Recipe Card
Prep Time: 15 minutes
Chill Time: 1 hour minimum
Yield: 2 pie crusts (top and bottom)
Instructions:
- Combine dry ingredients: In a large mixing bowl, whisk together flour and salt. If making a sweet crust, add sugar at this stage.
- Cut in the Crisco: Add cold Crisco shortening to the flour mixture. Using a pastry blender or two forks, cut the shortening into the flour until the mixture resembles coarse crumbs with some pea-sized pieces of fat remaining. This texture is crucial for flakiness.
- Add ice water gradually: Sprinkle 6 tablespoons of ice water over the mixture. Using a fork, gently toss and mix until the dough begins to come together. Add additional water one tablespoon at a time if needed. The dough should hold together when squeezed but not be sticky.
- Form the dough: Divide the dough in half and shape each portion into a flat disk. This shape makes rolling easier later.
- Wrap and chill: Wrap each disk tightly in plastic wrap and refrigerate for at least 1 hour, or up to 3 days.
- Roll and shape: On a lightly floured surface, roll one disk from the center outward, rotating the dough frequently to maintain a circular shape. Roll to about ⅛-inch thickness and 2 inches larger than your pie dish.
- Transfer to pie dish: Carefully transfer the dough to your pie dish, gently pressing into the bottom and sides without stretching.
Notes: For best results, keep ingredients cold throughout the process. If the dough becomes too soft while working, return it to the refrigerator for 15-20 minutes.


Pro Tips for No-Fail Pie Crust Recipe Using Crisco Every Time
Keep Everything COLD!
Temperature control is absolutely critical for achieving the perfect flaky texture. Keep your Crisco in the refrigerator until ready to use, use ice water (not just cold water), and even consider chilling your mixing bowl and pastry blender beforehand. Cold ingredients prevent the fat from melting too quickly, which is essential for creating those flaky layers.
Don’t Overmix or Overwork the Dough
Overworking pie dough develops the gluten in flour, resulting in a tough, chewy crust instead of the tender texture we’re after. Mix just until the ingredients come together – some visible pieces of fat are actually desirable and will create pockets of flakiness when baked.
The Secret is in the “Cutting In”
When cutting Crisco into flour, aim for a mixture that looks like coarse breadcrumbs with some larger, pea-sized pieces of fat scattered throughout. These varying sizes create different layers of flakiness in the finished crust.
Perfect Hydration is Key
Too little water results in a crumbly dough that cracks when rolled; too much creates a tough crust. The dough should hold together when squeezed but shouldn’t feel sticky or wet. Start with less water and add gradually – you can always add more, but you can’t take it away.
Handle With Care
Think of pie dough as delicate. Use gentle movements when mixing, rolling, and transferring. Rough handling develops gluten and can make your crust tough.
Don’t Skip the Chill Time(s)
Chilling allows the flour to fully hydrate, the fat to firm up, and any gluten that developed to relax. This step is non-negotiable for the best results.
For an Extra Flaky Crust…
Try this simple technique: after rolling out your dough, fold it in half, then in half again (like folding a letter). Re-roll gently. This creates additional layers similar to puff pastry for extra flakiness.
Understanding Crisco in Pie Crusts
Why Crisco Makes Pie Crusts Flaky and Tender
The science behind Crisco’s effectiveness lies in its composition and melting point. As a solid fat at room temperature, Crisco creates distinct layers within the dough. When baked, these fat layers melt and create steam, which puffs up the dough and creates flaky layers. Additionally, fat inhibits gluten development, keeping the crust tender rather than tough.
Crisco vs. Butter in Pie Crusts
While butter certainly has its place in baking and provides wonderful flavor, Crisco offers distinct advantages for pie crusts:
| Aspect | Crisco | Butter |
|---|---|---|
| Flakiness | Consistently flaky due to higher melting point | Can be flaky but more temperature-sensitive |
| Ease of Use | Very forgiving, easier to work with | Requires more precise temperature control |
| Flavor | Neutral, lets filling flavors shine | Rich, buttery flavor |
| Consistency | Reliable results every time | More variable results |
Troubleshooting Common Pie Crust Problems (and Solutions)
Problem: My Crust is Tough
Causes: Overmixing the dough, adding too much water, or using too much flour during rolling.
Solutions: Handle dough gently, measure ingredients accurately, and use minimal flour when rolling. Remember, some visible fat pieces are good!
Problem: My Crust Shrank During Baking
Causes: Stretching the dough when placing it in the pan, or insufficient chilling time.
Solutions: Allow dough to relax naturally into the pan without stretching, and ensure adequate chilling time before baking.
Problem: My Crust Has a Soggy Bottom
Causes: Adding hot or very wet fillings, or not pre-baking when required.
Solutions: Cool fillings before adding to crust, consider blind-baking for custard or cream pies, and bake on the lower oven rack for better bottom browning.
Problem: My Dough is Too Crumbly/Dry
Causes: Not enough water or overmixing after adding water.
Solutions: Add ice water one tablespoon at a time until dough holds together when squeezed.
Problem: My Dough is Too Sticky
Causes: Too much water added, or dough has become too warm.
Solutions: Chill the dough for 30 minutes, or dust lightly with flour while rolling (but don’t add too much).
Variations and Storage
Sweet Pie Crust Variation
For fruit pies and dessert applications, add 2 tablespoons of granulated sugar to the flour mixture. This subtle sweetness complements fruit fillings beautifully without overwhelming delicate flavors.
Savory Pie Crust Variation
Enhance savory pies by adding:
- 1 teaspoon dried herbs (thyme, rosemary, or sage)
- 2 tablespoons grated Parmesan cheese
- ½ teaspoon garlic powder
Storing Unbaked Pie Dough
- Refrigerator: Wrapped tightly, dough keeps for up to 3 days
- Freezer: Double-wrap in plastic and freeze for up to 3 months
- Thawing: Move frozen dough to refrigerator 24 hours before use
Storing Baked Pie Crust
- Room temperature: Cover loosely and use within 2 days
- Refrigerator: Store covered for up to 1 week
FAQs About Pie Crust Recipe Using Crisco
Can I use butter-flavored Crisco? Absolutely! Butter-flavored Crisco provides the same reliable texture with a hint of buttery taste. It’s a great compromise between flavor and ease of use.
Can I make this recipe in a food processor? Yes, but use caution not to overprocess. Pulse the flour, salt, and Crisco until you achieve the desired crumbly texture, then add water gradually while pulsing just until the dough comes together.
Can I make this pie crust gluten-free? While this specific recipe uses all-purpose flour, you can experiment with gluten-free flour blends. Look for blends designed for baking that include xanthan gum for best results.
How far in advance can I make Crisco pie dough? You can make the dough up to 3 days ahead and refrigerate, or up to 3 months ahead and freeze. This makes it perfect for holiday preparation or meal planning.
Conclusion
This foolproof pie crust recipe using crisco delivers everything you want in a homemade crust: incredible flakiness, tender texture, and reliable results every single time. Whether you’re preparing for holiday entertaining, weekend baking projects, or simply want to master this fundamental skill, this recipe will serve you well for years to come.
The combination of simple ingredients, clear techniques, and professional tips ensures that even first-time pie makers can achieve bakery-quality results. Remember, the key lies in keeping ingredients cold, handling the dough gently, and allowing adequate chilling time.
What pie will you make first with your new go-to crust recipe? Whether it’s a classic apple pie, rich chocolate cream pie, or savory quiche, this versatile crust will provide the perfect foundation for all your culinary creations. Let us know in the comments below – we’d love to hear about your pie-making adventures!
Ready to start baking? Save this recipe, share it with fellow baking enthusiasts, and don’t forget to rate it after you’ve tried it. Happy baking!
How do you feel
There are no reviews yet. Be the first one to write one.

